We currently have two 2012 R2 servers running, but in place upgrades are apparently not advised for DC’s. Below is how I have gone about getting the DC’s upgraded.
I build two 2022 Windows servers. Once all the updates are done, make sure you assign them a static IP address. Best practice is promoting the new servers then having them run for a few days, then demoting the old ones.
We will use this article and update as we go along: https://infrasos.com/how-to-add-domain-controller-to-an-existing-domain/
No chance it will be this simple, but lets see how it goes….
2. Click Next on the Before we begin page.
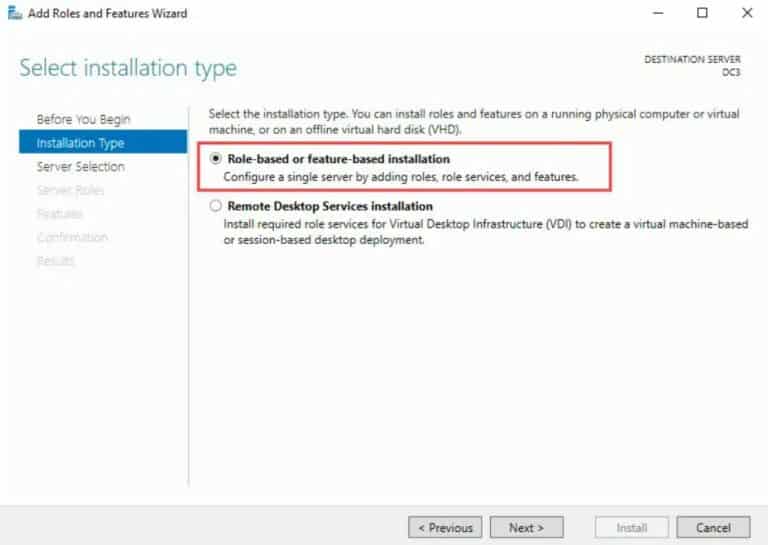
3. Click Next after selecting Role based or Feature based installation.
4. Select your server from the server pool then > Next
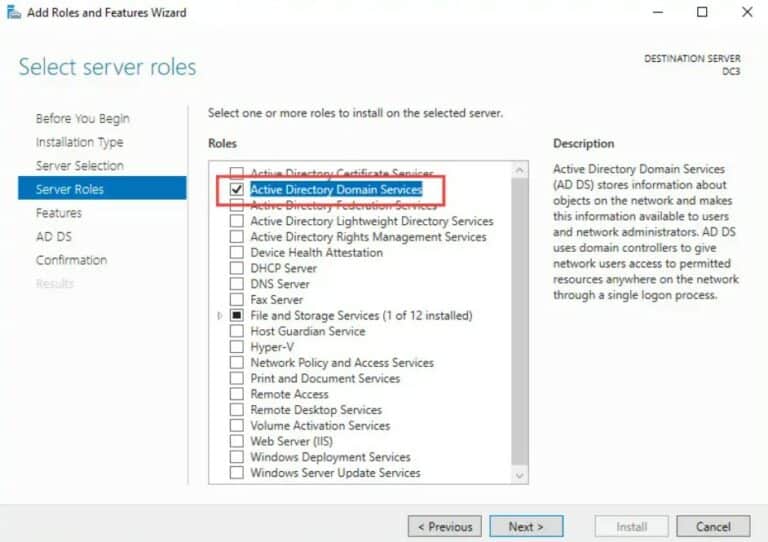
5. Select Active Directory Domain Services (AD DS), and we get a popup to add features our environment requires for Active Directory Domain Services; click Add features. Click Next.
6. Click next on the features page. We do not need to choose additional information on this page.
7. Click Next on the Active Directory Domain Services page. This section of the wizard is for informational purposes.
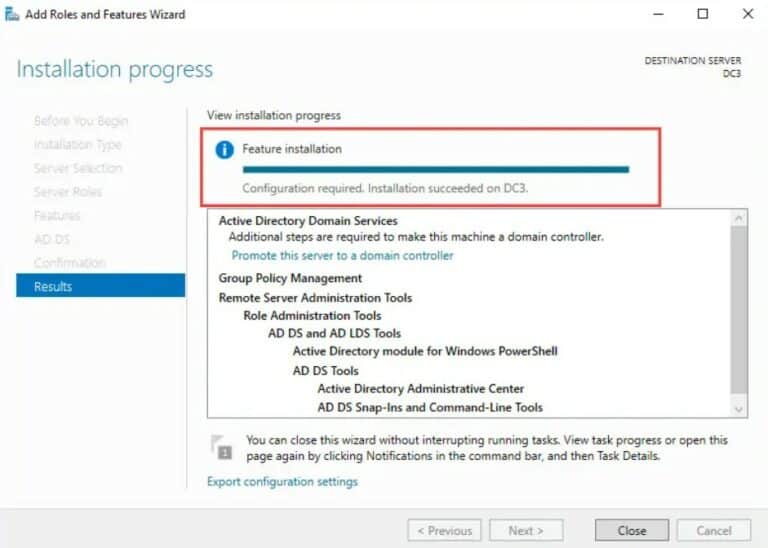
8. Click Install on the confirmation page.
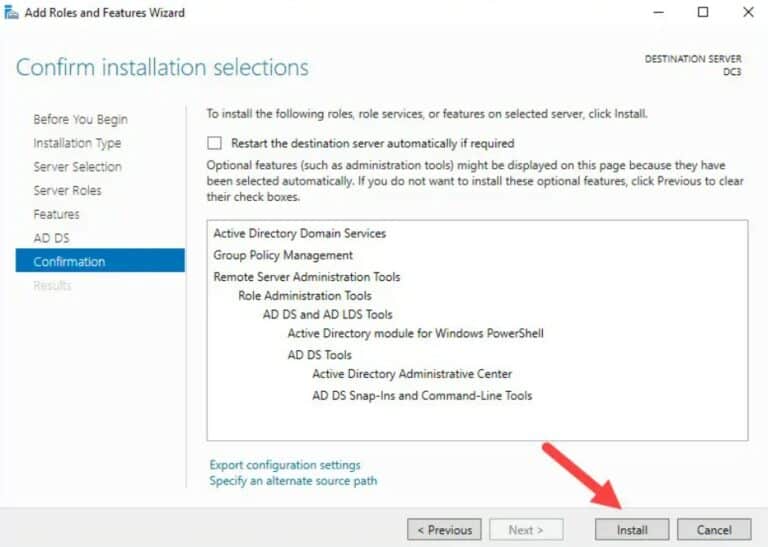
When the installation is complete, a message appears saying, Configuration required. Installation succeeded on server name. When we see this, we now move to the next step.
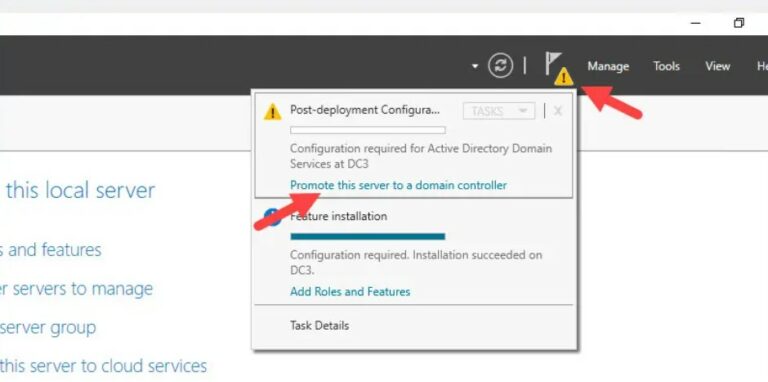
Once you have completed the installation, you now need to promote the server to a DC
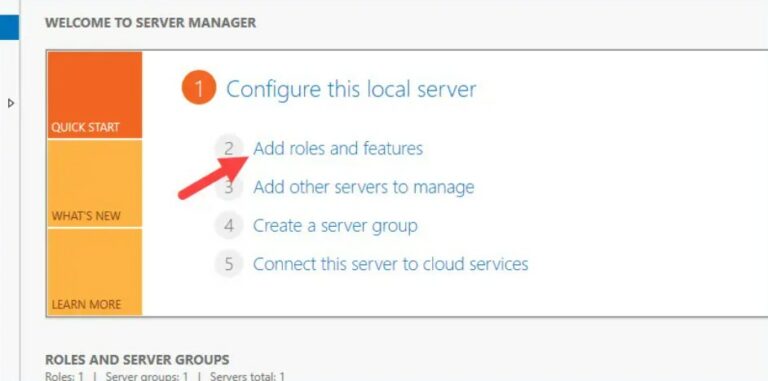
1. In the server manager interface, click the yellow icon at the top and choose to Promote this server to a domain controller.
2. Choose to Add a domain controller to an existing domain. Next, please enter or select the domain to which we want to add the secondary domain controller. We need to click the change button to join in administrator credentials. Click Next.
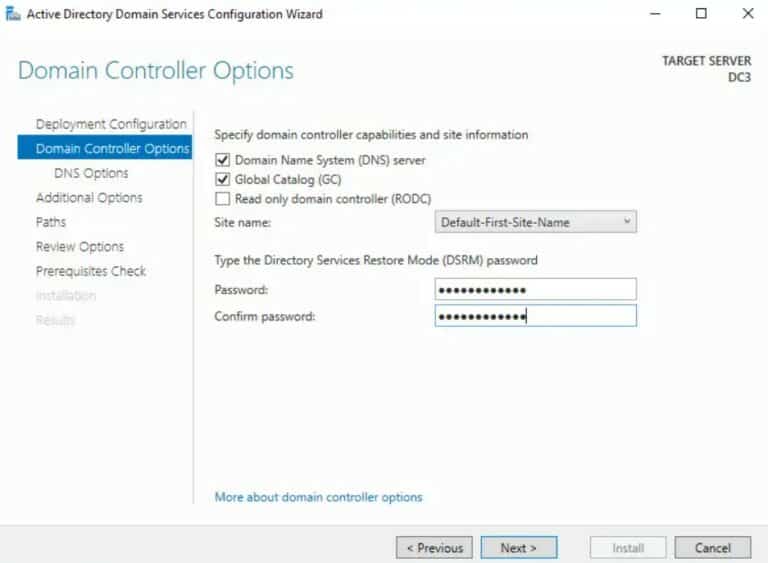
3. On the Domain Controller Options page, we check the Domain Name System (DNS) server and Global Catalog (GC). Let’s select The Default First Site name for the site name unless we have created a new one. We recommend leaving it as the default value for now. Enter a temporary Directory Services Restore mode (DSRM) password and click Next
Note: DSRM allows an administrator to repair or recover an Active Directory Database.
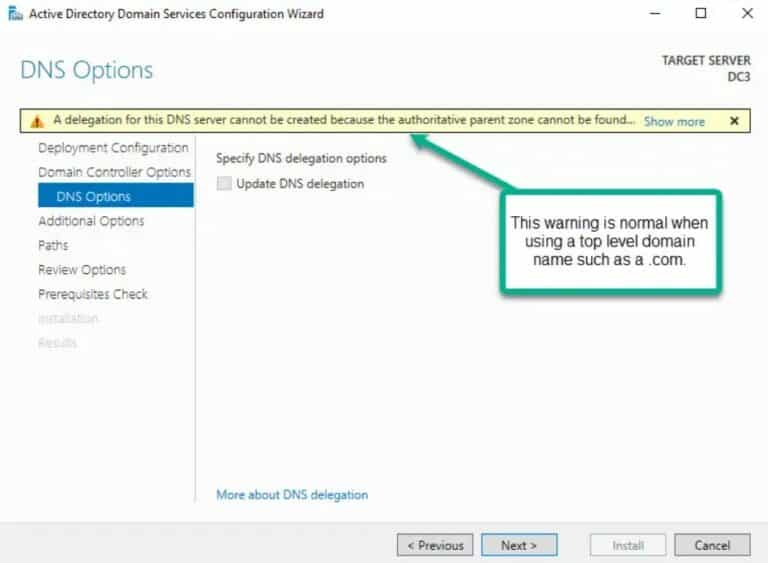
4. We most likely receive the error shown in the screenshot below. We ignore this message if we don’t need computers outside the network to resolve names within our domain. This article discusses frequent issues and how to diagnose them when installing and removing AD DS later.
5. Select where this server replicates on the Additional Options page. The replication depends on how we installed the first DC and its location. If the DCs are all on the same site, replicating from any will work. We have a different replication strategy, if we have multiple sites.
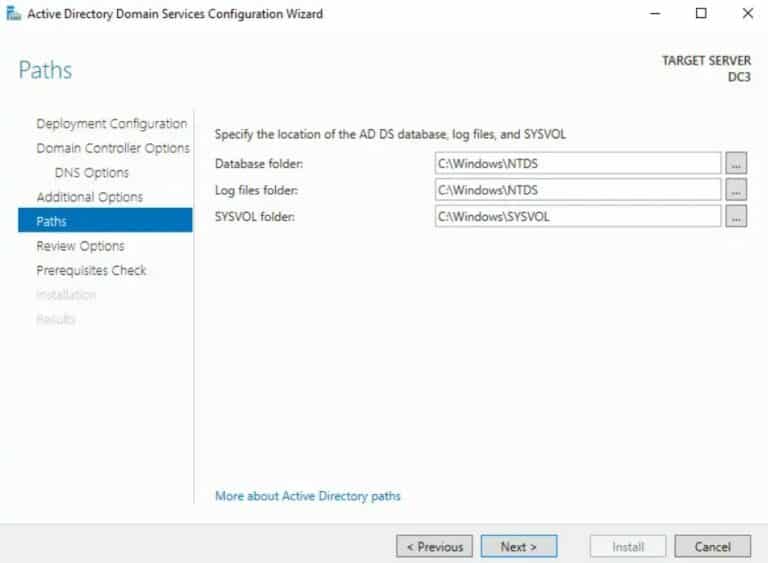
6. For now, leave the paths in default. We configure it later, but most of the time, the retained default values are fine.
7. Choose Next on the Review options page.
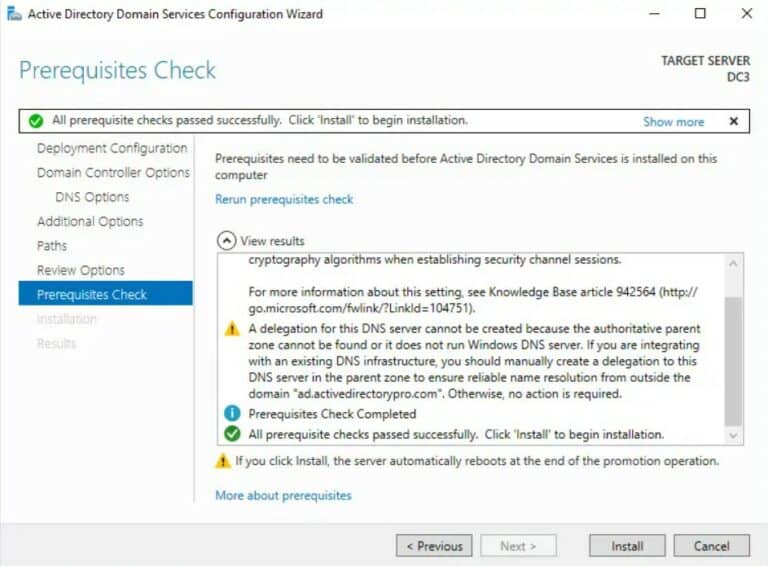
8. On the Prerequisites Check page, we may see two warnings like the below screenshot. If the prerequisite passes, click install.
Now run this from the command line:
dcdiag /test:dns /v /s:Server name /DnsBasicLog in and check the AD settings in Computer manager.
The next step will be to add the DHCP role, so the server can distribute IP Addresses.
- Back to server manager > Add roles and Features
- Role-based or feature-based installation
- Select your server from the pool
- Select DHCP
- Next > Next > Install
- You now complete configuaration by Authorizing the server
- Add username and commit